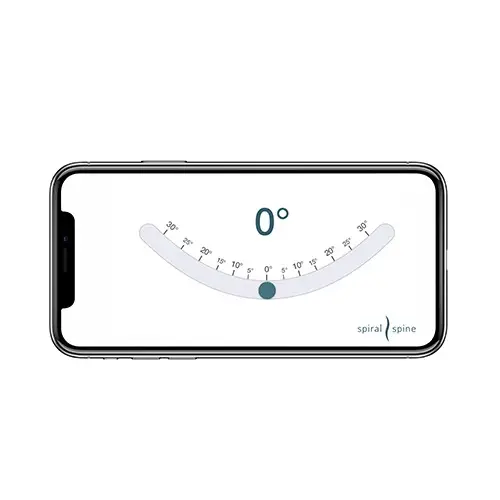
Whether you’re new to the scoliosis world or looking for another way to understand your scoli, knowing how to use a scoliometer to track your scoliosis can help you make informed decisions about your scoliosis.
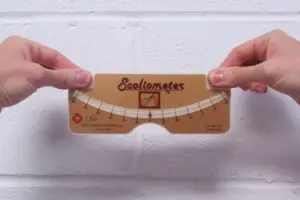
What is a scoliometer?
A scoliometer is a device that measures the rotation of your spine. Research shows that your Cobb Angle (measured by an x-ray) and axial vertebral rotation (measured by a scoliometer) are positively correlated [1]. Most scoliometers are made of plastic, easily breakable and forgettable. (I’ve certainly left mine at home before on accident so I don’t have it when working with a client.) You can purchase a scoliometer from a medical supply company, or download an app to use on your phone.
Years ago, I created my own scoliometer app called Scoliometer by Spiral Spine. It’s a simple, stable scoliometer app that all staff at Spiral Spine utilize daily. I’ve spent a load of time and money to ensure it remains the most accurate and accessible scoliometer app on the market. It’s a few dollars in both the iPhone and Android app stores.
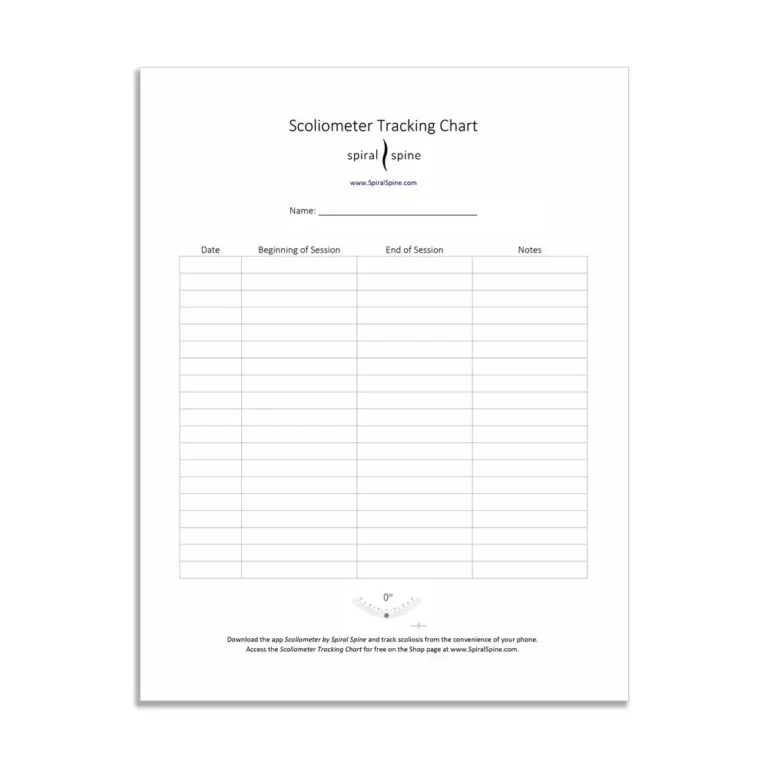
I’ve also created a free, downloadable PDF you can retrieve off of the shop page of the website called the Scoliometer Tracking Sheet, where you can record all these numbers yourself. You can just as easily keep a notes section on your phone with your numbers logged. Make a decision that allows you to access your data in the simplest way possible.
Whichever way you choose to get your hands on a scoliometer, you need to get one. This is by far the most used and useful tool my staff and I have to assess our clients’ scoli at my studio.
Why should I use a scoliometer?
Those with scoliosis are subjected to many X-rays throughout their lives. In fact, scoliosis patients who are treated with a back brace can have more than twenty X-rays over the course of three years. Because of this increased exposure to radiation, scoliosis patients are at an increased risk of breast cancer— one study showed that the incidence of breast cancer was twice as high in a group of scoli patients as it was in a control group [2].
As Cobb Angle (x-ray) and axial vertebral rotation (scoliometer) are positively correlated, if you have your back measured before and after an activity or therapy session and notice a decrease in the degree of rotation, you can deduce your scoli likely got a little straighter during that activity or therapy session. Tracking scoliometer measurements over time is a great way to make sure you are helping, and not hurting, your scoli without exposing yourself to radiation.
The goal is not necessarily to get your spine to derotate to zero, even though that does happen, but to observe what is possible within your scoli body. If you track your spine regularly, it also gives you feedback on if your scoli is continuing to worsen, is stabilizing, or is even decreasing. You don’t have to anxiously wait for your next x-ray to know what’s happening in your spine. This, in turn, empowers you to know how to appropriately care for your body.
See what I mean by looking at a Scoliometer Tracking Sheet from a young, female client of mine. I’ve recorded her scoliometer readings both before and after lessons over a period of months.
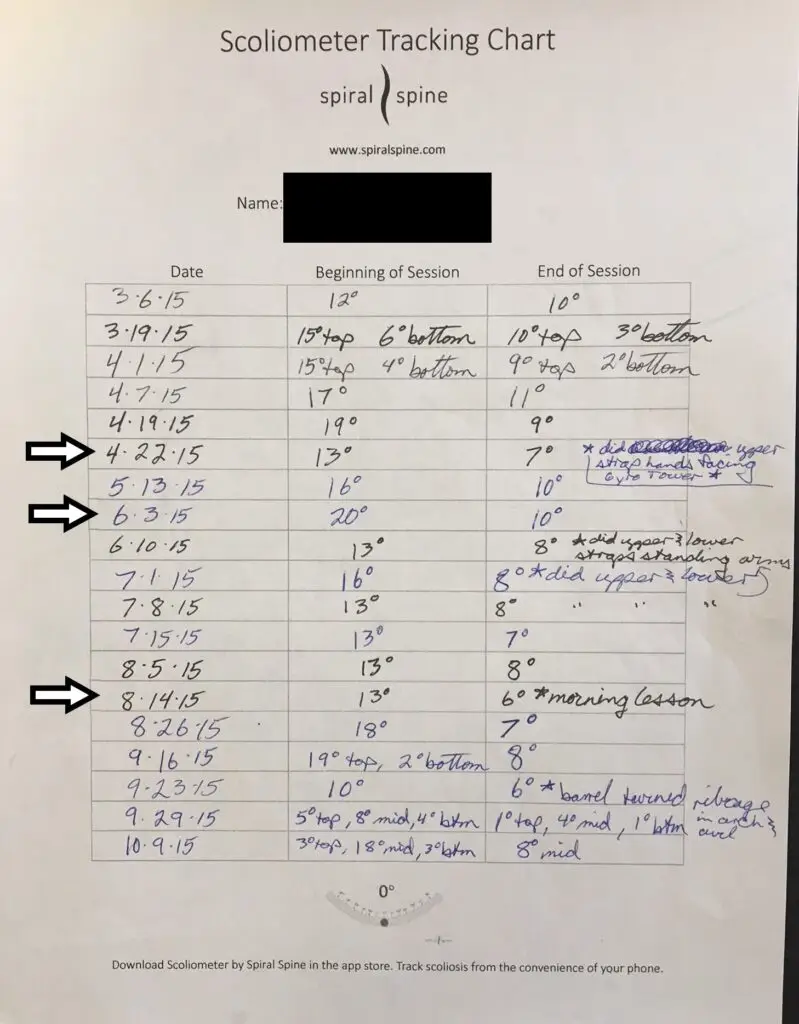
This client normally comes in at 15 or 16 degrees in her major curve and leaves around 9 or 10 degrees. On April 22, 2015, we had a breakthrough and found a series of exercises that really benefited her back. I noted on her Scoliometer Tracking Sheet that her back responded to a particular exercise. We were able to get her vertebral rotation down to 7 degrees for the very first time. That was an exciting day.
On her June 3, 2015, entry, her major curve measured 20 degrees (way above her norm). It turns out she had been climbing ladders and carrying heavy boxes at her new job the day prior. Her scoli didn’t like that, and the scoliometer told me so. I knew I had a lot of work ahead of me during that lesson to untwist her.
On August 14, 2015, her initial reading came in very low, and she finished her lesson with her lowest reading ever. On this particular day, she had come in for a morning lesson, rather than her usual afternoon or evening lesson. It turns out that her scoli is more mobile in the morning and we were able to have greater success untwisting her scoliosis with a morning lesson.
At Spiral Spine, we have years of our clients’ scoliometer measurements to help us understand their scoli. Many of our clients get to the point that they don’t even care to be measured regularly. They know what their body feels like at a 10 and a 6 or a 21 and a 14. That’s the true goal: knowing and understanding your body.
How to use a scoliometer
How to use a scoliometer does take a little bit of getting used to, but you’ll get the hang of it with practice. You’ll need a friend to help you use a scoliometer to measure your scoli. Here is how to use the Scoliometer by Spiral Spine app:
- Stand in front of your friend, on level ground with your toes pointed forward and your back to them.
- With the scoliometer app open on your phone, have your friend hold the mobile device in the landscape view, sideways. Have them hold the phone with their thumbs under the outside bottom corners and their fingers on top (like you’d hold a hamburger). The screen should be perpendicular to the floor with the back of the device facing your back.
- Have your friend place their hands and your phone at the bottom of your neck, with your spine in the middle of the phone. Wait until the phone is level, showing a zero-degree reading on the scoliometer.
- Have your friend apply even pressure with their thumbs on both sides of your back, which will most likely cause the scoliometer to no longer stay at zero, and that’s OK.
- When your friend says go, slowly start to round your back with your hands reaching to the floor (just like during your spinal assessment) as your friend brings the phone down your back at the same pace you’re rolling forward. The spine needs to remain in the center of the scoliometer, which means your friend will need to allow it to both laterally shift and rotate to receive the correct numbers.
- Have your friend make note of the highest scoliometer readings as they bring it down your back. If you have multiple curves, the scoliometer will toggle from side to side, and your friend will have multiple scoliometer readings to remember.
- Write down the highest number associated with each of your curves on the Scoliometer Tracking Sheet and find a safe place to keep your sheet.
Tips on Using a Scoliometer
- Everyone will use a scoliometer slightly differently, so it’s important to have the same person measure you before and after an activity to be able to consistently track your scoli progress.
- There isn’t a “right” distance between your thumbs and the spine. Some people like holding their thumbs very close to the spine and some people hold them closer to the spine. This often depends on the size of the body you are measuring.
- It is important to apply equal pressure from the thumbs on either side of the spine, no matter when the spine bends/turns. Allow the indicator to move from 0 naturally. If you press harder with one hand, the phone will be rotated further to that hand.
- Keeping the phone’s screen perpendicular to the floor is important to taking an accurate reading. If you allow the phone to tilt forward and back that can affect the scoliometer’s accuracy.
I know, it seems complicated, but it’s really not once you practice. Read the instructions a few times and look at the pictures. If you’re still feeling lost, watch the video below. It’s part of my Starting Point Series on the website, which is meant to help you jumpstart your scoli care.
Scoliometer by Spiral Spine’s Design
As I said above, I looked for a dependable scoliometer app when I found myself frustrated by the difficult to read and forgettable plastic scoliometer. Upon trying multiple scoliometer apps, I found that none of them functioned to my liking. They were either inaccurate, had too many other functions, or were visually distracting. Some even ticked all three of the annoying boxes!
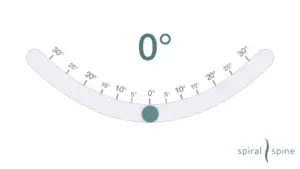
This lead me to create Scoliometer by Spiral Spine. I chose not to have the app collect data for me automatically or have a button that pauses the scoliometer at a degree. I loved the idea of a simplistic, functional design that I could use quickly and efficiently. I have updated the app through multiple Apple and Android versions to ensure the validity of this tool’s accuracy as my staff and I use it daily when working with our clients.
Erin Myers is an international presenter on scoliosis and founder of Spiral Spine, a company designed to enrich the lives of people with scoliosis. She’s also created a number of scoliosis resources including the books I Have Scoliosis; Now What? and Analyzing Scoliosis, the scoliometer app (iPhone and Android) and many videos. She owns Spiral Spine Pilates in Brentwood, TN, which allows her to actively pursue her passion of helping those with scoliosis through Pilates, which she has been doing for nearly two decades.
Sources
1 Morrison, D. G., Chan, A., Hill, D., Parent, E. C., & Lou, E. H. (2014). Correlation between Cobb Angle, spinous process angle (SPA) and apical vertebrae rotation (AVR) on posteroanterior radiographs in adolescent idiopathic scoliosis (AIS). European Spine Journal, 24(2), 306–312. https://doi.org/10.1007/s00586-014-3684-1
2 Hoffman DA, Lonstein JE, Morin MM, Visscher W, Harris BS 3rd, Boice JD Jr. Breast cancer in women with scoliosis exposed to multiple diagnostic x rays. J Natl Cancer Inst. 1989 Sep 6;81(17):1307-12. doi: 10.1093/jnci/81.17.1307. PMID: 2769783.
