This blog is part of the Analyzing Scoliosis series, which is designed to teach movement practitioners how to work confidently with clients who have scoliosis. To start at the first post in the series, go here. My book, Analyzing Scoliosis, which covers the topics in this series (as well as others) in more depth, is available on Amazon.
This post will be best understood if you have read the previous two in this series, how to perform a physical and visual assessment.
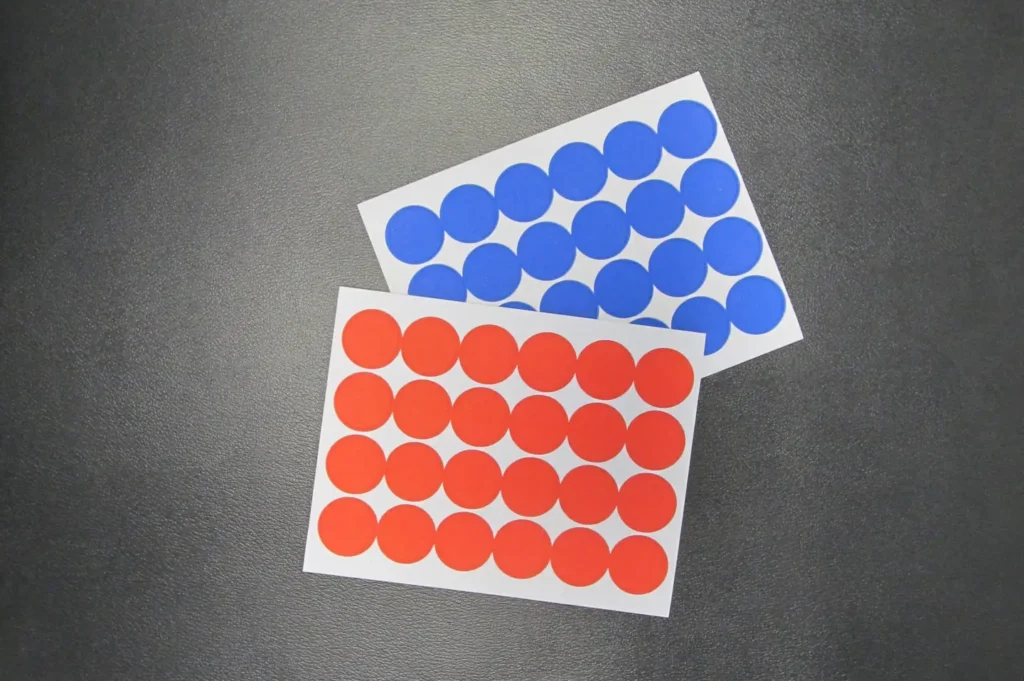
Now that you’re able to mentally create a picture of your client’s spine, it’s time to create an actual picture. My favorite way to do this is using something you can find in any office supply store—dot stickers.
First, purchase some dot stickers and keep them on hand at your studio. To make your dot sticker picture as simple and usable as possible, I suggest using only one color per picture.
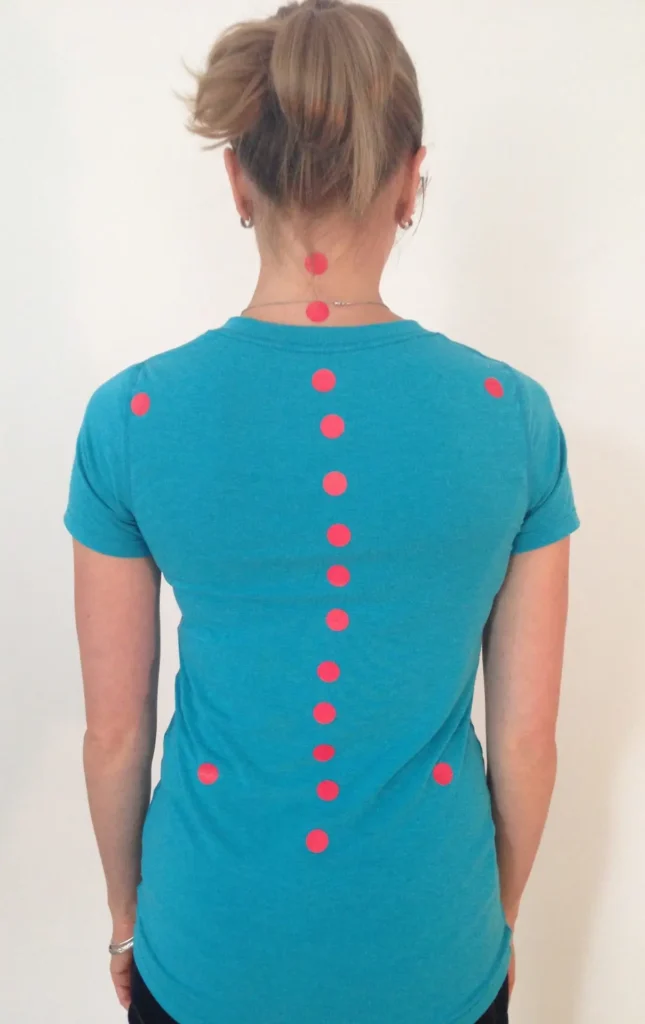
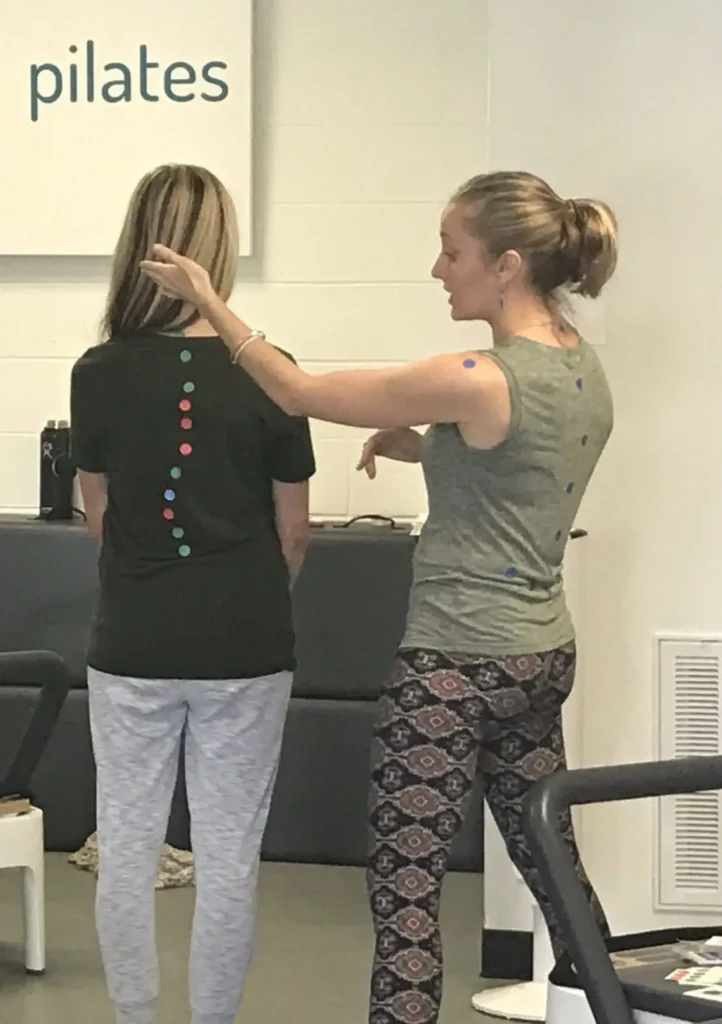
Next, use your “peace sign” fingers to do another quick, physical spinal assessment (from the top of your client’s neck all the way down to their sacrum), and remind yourself where their spine shifts. Now, place a dot sticker every one to two vertebrae, all the way down your client’s back on their spinous process (this is the part that sticks out, and it should be relatively easy to feel).
Then, put dot stickers on the back of your client’s shoulder blades. You can choose to place them on the lateral spines of the scapulas, the inferior angles of the scapulas, or both. Be careful to place the stickers on the same part of the bones on both sides. Depending on the client, these stickers may or may not visually be in the same place.
Finally, place your hands (like blades, with your palms facing down) into your client’s waist to find the top of their pelvis, just like in the physical assessment. Put a sticker on both the right and left sides where the high point of the iliac crests sit. Again, make sure the stickers are on the same part of the bones even though the placement may not look even or similar.
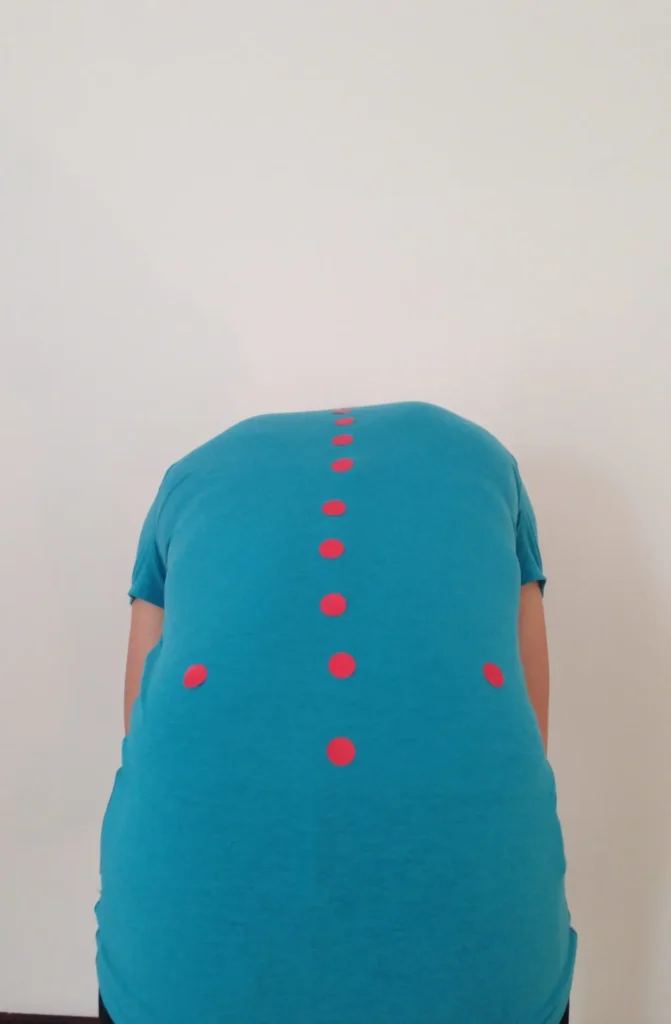
When you are done placing your stickers, take a photo of the dot stickers on the client’s back. Have them roll down halfway with their hands reaching to the floor, and take another picture in this position.
When you are done, you’ll have two pictures. These are your dot sticker pictures. The first, with your client standing upright, will show you the curves in your client’s beautiful, scoliotic back. The second, with your client rolled halfway down, will show you if their scoliosis has caused any rotation in their spine and/or rib cage. Print these pictures and put them in your client’s file.
You’ll want to include this step in your assessment process until you can confidently diagram your client’s spine from your physical and visual assessment alone.
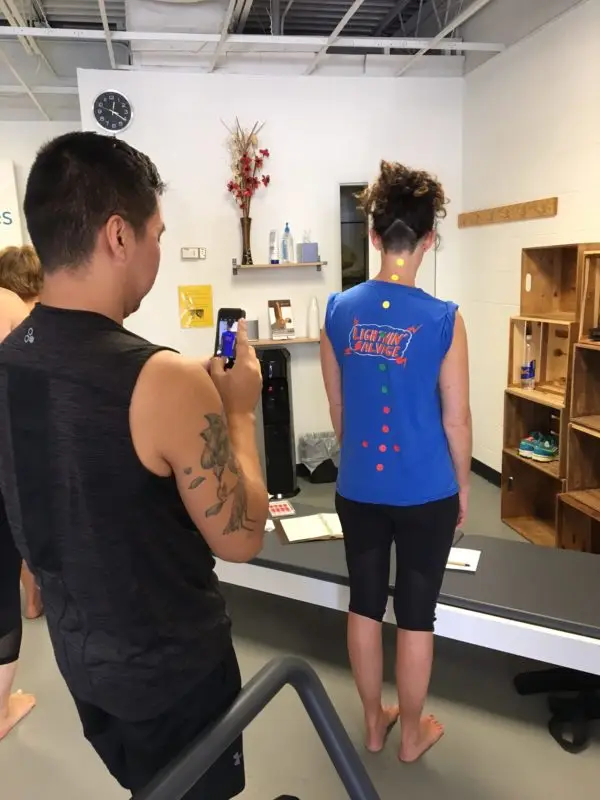
Below are dot sticker pictures of my back, both standing and rolling down – can you see the rotation in my spine? The other two images are people with dot stickers on their backs during a Spiral Spine workshop. All of these people have scoliosis, and yet all of their bodies and curves look different. Can you see how creating a dot sticker picture could help you see the unique intricacies of your scoli clients’ spines?
Next up in the process is how to create a diagram sketch from all the assessments you’ve done so far. I do this for every scoli client, and it’s what I rely on and refer back to most when working with someone.